
It really does prove how a commander can help the team out, and co-ordinate it to annihilate the enemy!
This is stage 1:
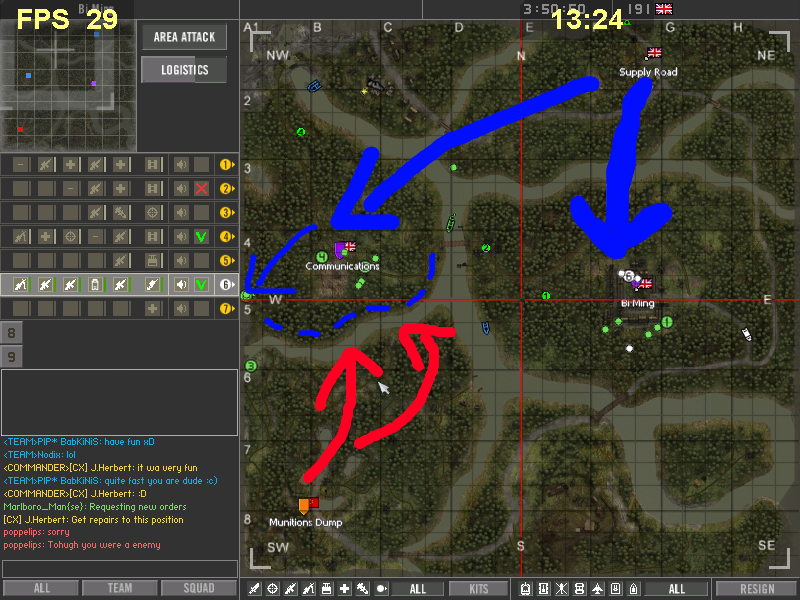
In this stage, I sent about 2 thirds of my force to Bi Ming, to cap it, adn the rest to communications, which wasn't cappable, but they could still mak esure the enemy couldn't cap it. Now I was very lucky, one of my squads managed to get to Communications before the enemy and hold it until the other squad could get there and help push the enemy back and hold the perimiter. The force attacking Bi Ming took it without problem.
Stage 2:
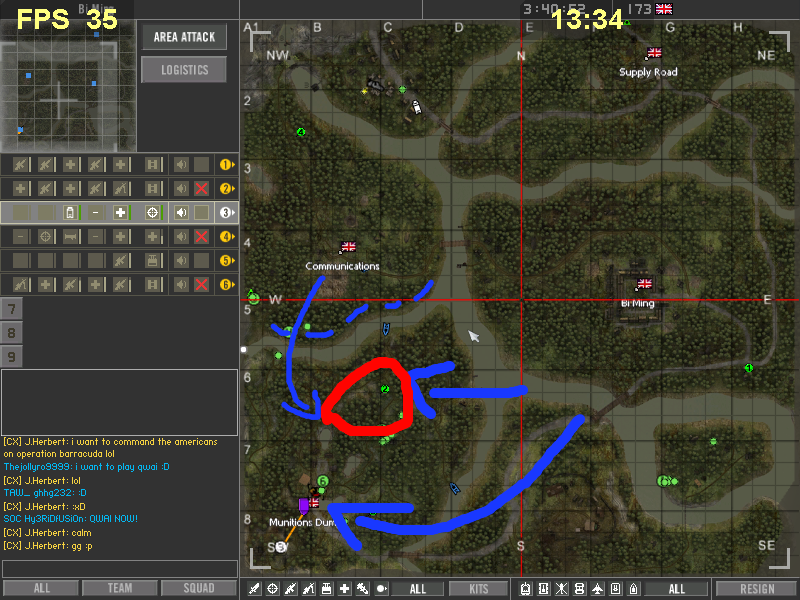
In this stage, half of the forces that attacked Bi Ming flanked the enemy that were attacking communications, while the forces at cummnications capped it and then also pushed forward, which the last of the forces from Bi Ming capped the enemy's main.
This was a while ago, and I would like to say that all of the squads were superb, we fought together almost all day, and won most of the matches.