
Layers can be used for many things in the level editor, but the main thing they are used for is to split up different game modes, with different sizes of maps.
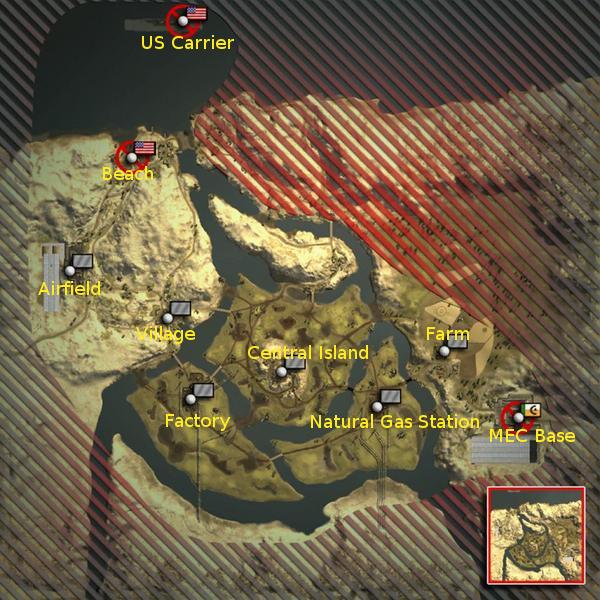
Now I've quickly made this map up here for this tut.

Very simple map, basically 4 islands. Now we want to make this map have layers for each size of map on the conquest game mode (16, 32 and 64).
So I plan that I want the 16 man to be confined to the South West island. With around 4 flags lets say, the 32 man to be confined to the South West, and North east islands, and the 64 man to be a fight over all 4 islands
So I'm going to take you though step by step with what you do.
1. You can start with any size first, but for this tut I'm going to do the 16man size first. The first thing you need to do is set up the layer. On the right hand toolbar (the editor toolbar), scroll down to the layers tab and click it to expand the window so it looks like this.
tip: you might want to close the "General" tab first to save space

2. You will see one layer that is there at the mo and that’s the default layer where all your static objects go etc. Just ignore it for now and right click below it, will pop up a little menu and click on "Create Layer" to crate a new layer.

3. This will pop up a new window where you get to name your layer. As this is our 16 man layer for the conquest game mode, let’s call it "Conquest_16". This is just so that if you add in any other game modes for a mod that has more than 1 game mode etc it will come in handy to see which game mode is which. Click Ok after that and it will bring you to a new window where you choose all the options for your game mode. At the top is your layer name which will already be filled out from the last window you did. then below that is your Game Modes you want to have in this layer. Now we only want Conquest so uncheck them all apart from conquest. Under this are the Player sizes we want. Now for this layer we only want the 16 man size so uncheck the 32 and 64 leaving the 16 checked. It should look like this:

After that, push Ok.
4. Now if you look on the right you will notice that you new layer is in the list. Make sure it is selected, if it is selected, any thing you do in the editor after that like place a new Control Point, Spawn point etc will be put into that layer. We don’t want it to be put into the Default layer or any other layers so each time before you do anything, make sure it’s highlighted like this:

Now we can make the 16man layer. first let’s set up our first Control Points on the map. Place the control points where you want them and put spawn points and object spawns around them as you see fit for the 16 player version. I'm going to have my version so that it is infantry only with no vehicles etc. Don’t forget to also put the combat zone on
5. So now I've set up all my CPs, Spawn points etc I want for my 16man version of the map.

If you look on the left, you will notice I've put 2 red arrows pointing towards the control points, and spawn points. But you should notice that they are in a folder, with the layer name. This shows that they are in the correct layer we want them to be
Now if you go back to the right, where you will notice a little tick box next to the layer, if you click that now you will notice when you uncheck the box all the stuff in that layer will vanish from the screen. If you check the layer again to turn it back on, it will all come back
This is useful when you want to only work on 1 layer at a time. Now turn off the 16man layer, and we will move onto the 32man
6. Now for the 32 man version, we want to just have the SW and NE islands in with CPs on them. so let’s do the same again, go to the layers bit, right click in an open space and crate a new layer. Call it "Conquest_32" and this time in the options, select all the same but in the players this time only have 32 selected out of the 3 sizes. make sure you have it selected then place your CPs, spawn points, object spawns and the combat border on the map for the 32 man layer
At the end it should look like this. Take note also, that now my CPs for the 32 layer have there own folder, and that my 16man layer is unchecked on the right in the layers tab.

7. For the 64 layer do the same again, you should have the hang of it now. Call the new layer "Conquest_64", set it up so that it saves for only the 64 size and place your objects away! I’m going to include all 4 islands for this version and put a chopper in for both sides as well.
8. This now basically is just the advanced stuff. Little tips, tricks and tools of the trade. Now if you right click in the layers window, above a layer you will notice some options in there I aren’t yet talked about. I will go though them one by one.
- Add to Layer ~ This feature is quite useful. It allows you to move items from one layer, to another. Simply select which items you want, maybe a static, a combat border etc, right click on the layer and click this button and the object(s) you had selected will be moved to that layer.
- Remove from Layer ~ basically the same as above, I don’t use this one much, use the above one if you need to its a lot easier.
- Select All in Layer ~ Dose what it says on the tin. It will select every object that is in that layer. This can be useful at times.
- Delete ~ Deletes the selected layer.
- Lock Layer ~ This tool I use a lot It is very useful and every time I am working on the gameplayobjects, I lock the default layer to stop me moving or select any statics by mistake but still view them at the same time. It also makes sure that you don't add anything new to that layer if you selected it by mistake. Very useful tool

- Disable Layer ~ To be honest I'm not 100% sure what this layer dose, but I'm 60% sure that if you do this, it will not save anything that’s inside the layer to the gameplayobjects etc when you save your objects on the map.
I hope you all have found my tutorial useful


