Sangin - A Development Snapshot
Posted: 2010-03-02 00:42
I posted a slightly different version of this a while back in the Dev Forums but thought it might be interesting to share it with you all. Although its nowhere near as detailed as IronTaxi's brilliant development journal for Siege at Ochamchira, it does give you a very small and highly simplified insight into some of the stages of development a map can go through along its road to completion.
Stage 1 - Pouring over a massive amount of reference material:
*imagine an image of me looking over an insane amount of ref material* (mainly trees )
)
Note that using plenty of good ref material, to use both directly and indirectly i.e. copying some of the areas you see and taking influence from some of the others, can make the difference between something that looks good and something that looks real (within the limits of the bf2 engine). A tip I would have for any new mapper is that when it comes to general visuals let the references do the work for you. Attention to detail both in your observations of the reference material and the realisation of these in the map, working out what does and doesn't work when you account for the restrictions of the engine you're using, can make a huge difference to the overall visual quality of the map.
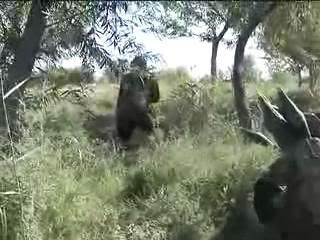
A couple of the refs I used for the area shown below:

Stage 2 - Starting point:
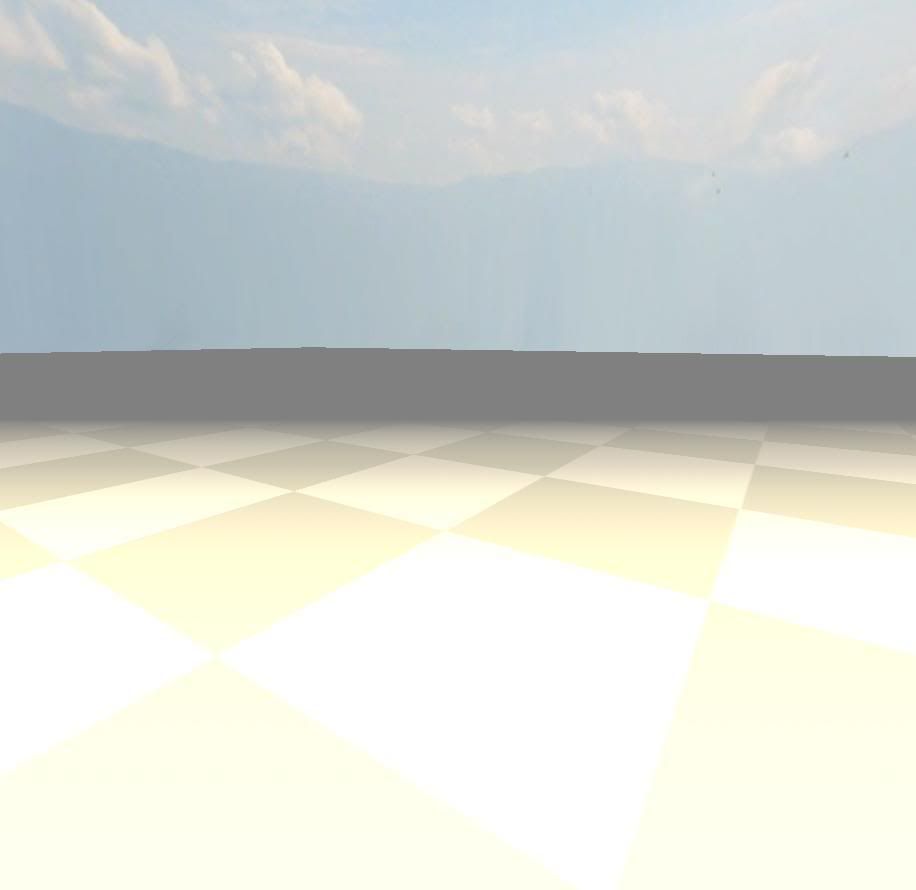

Stage 3 - Some basics down:
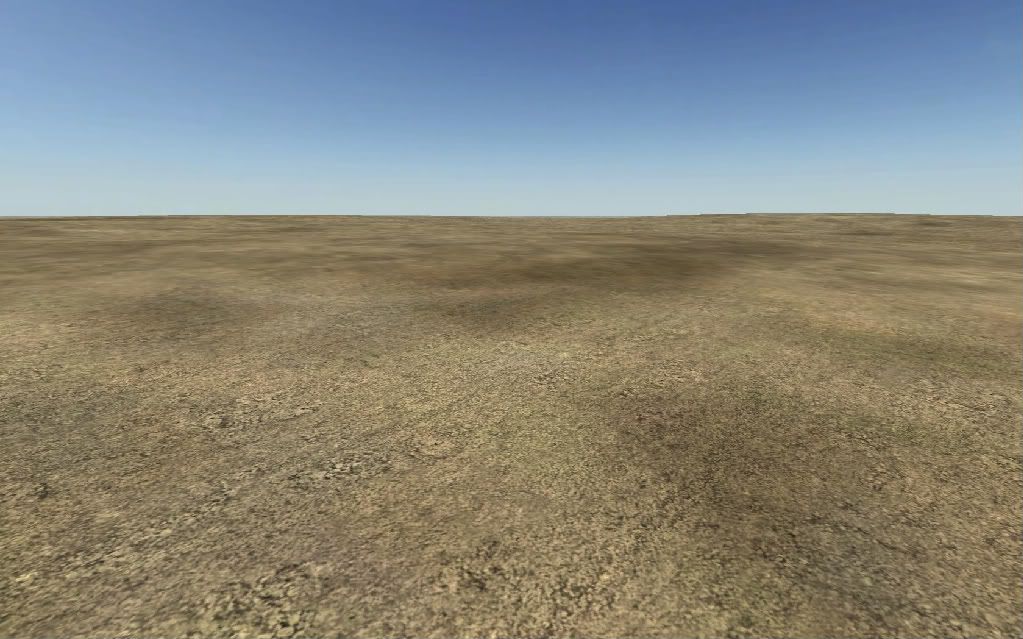
Stage 4 - The area is roughed out:
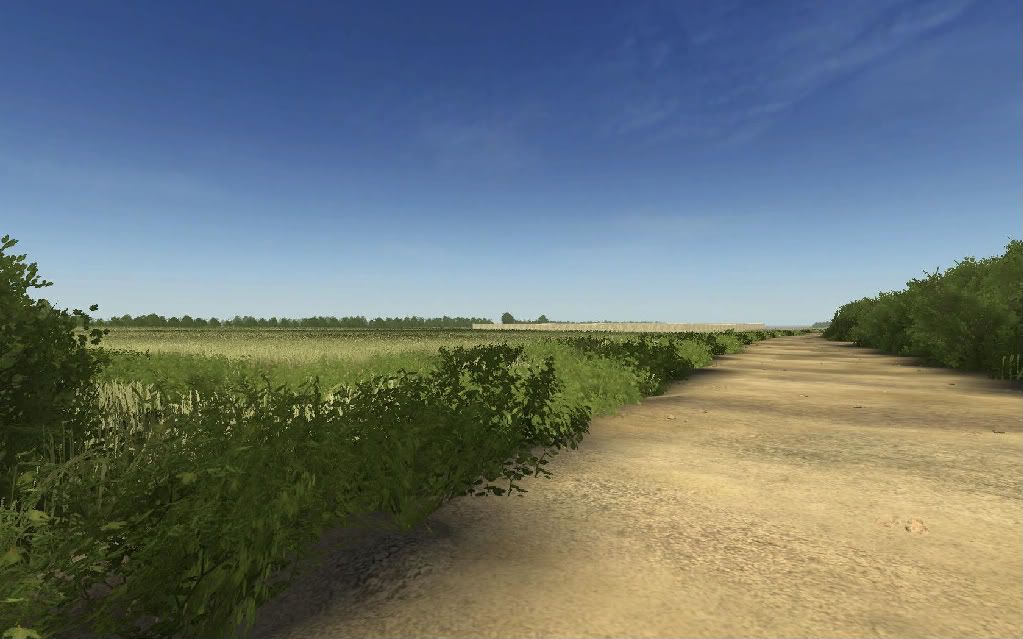
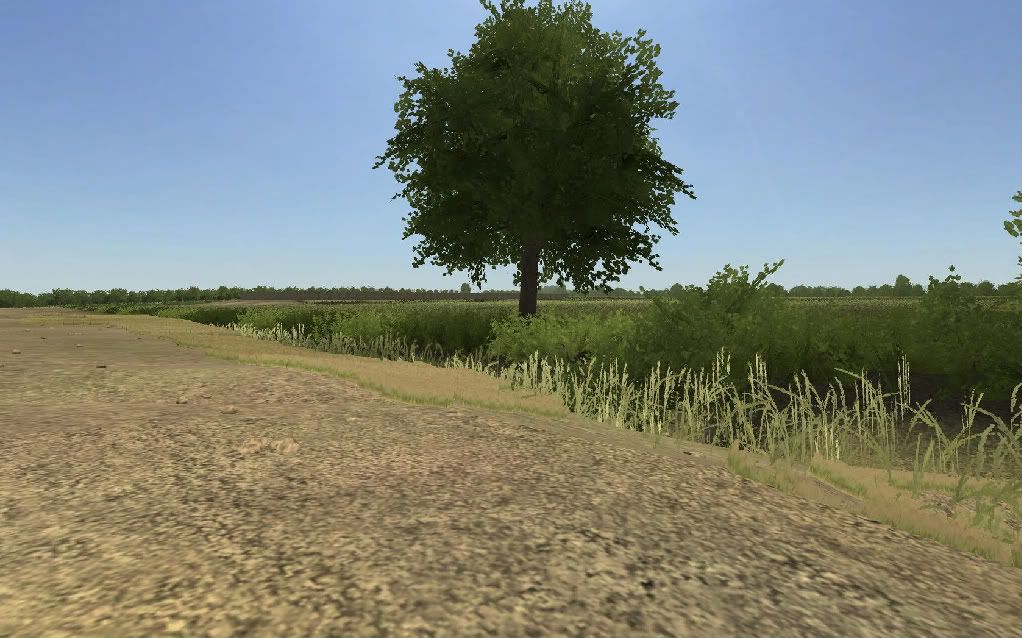
Stage 5 - Then detail is added:
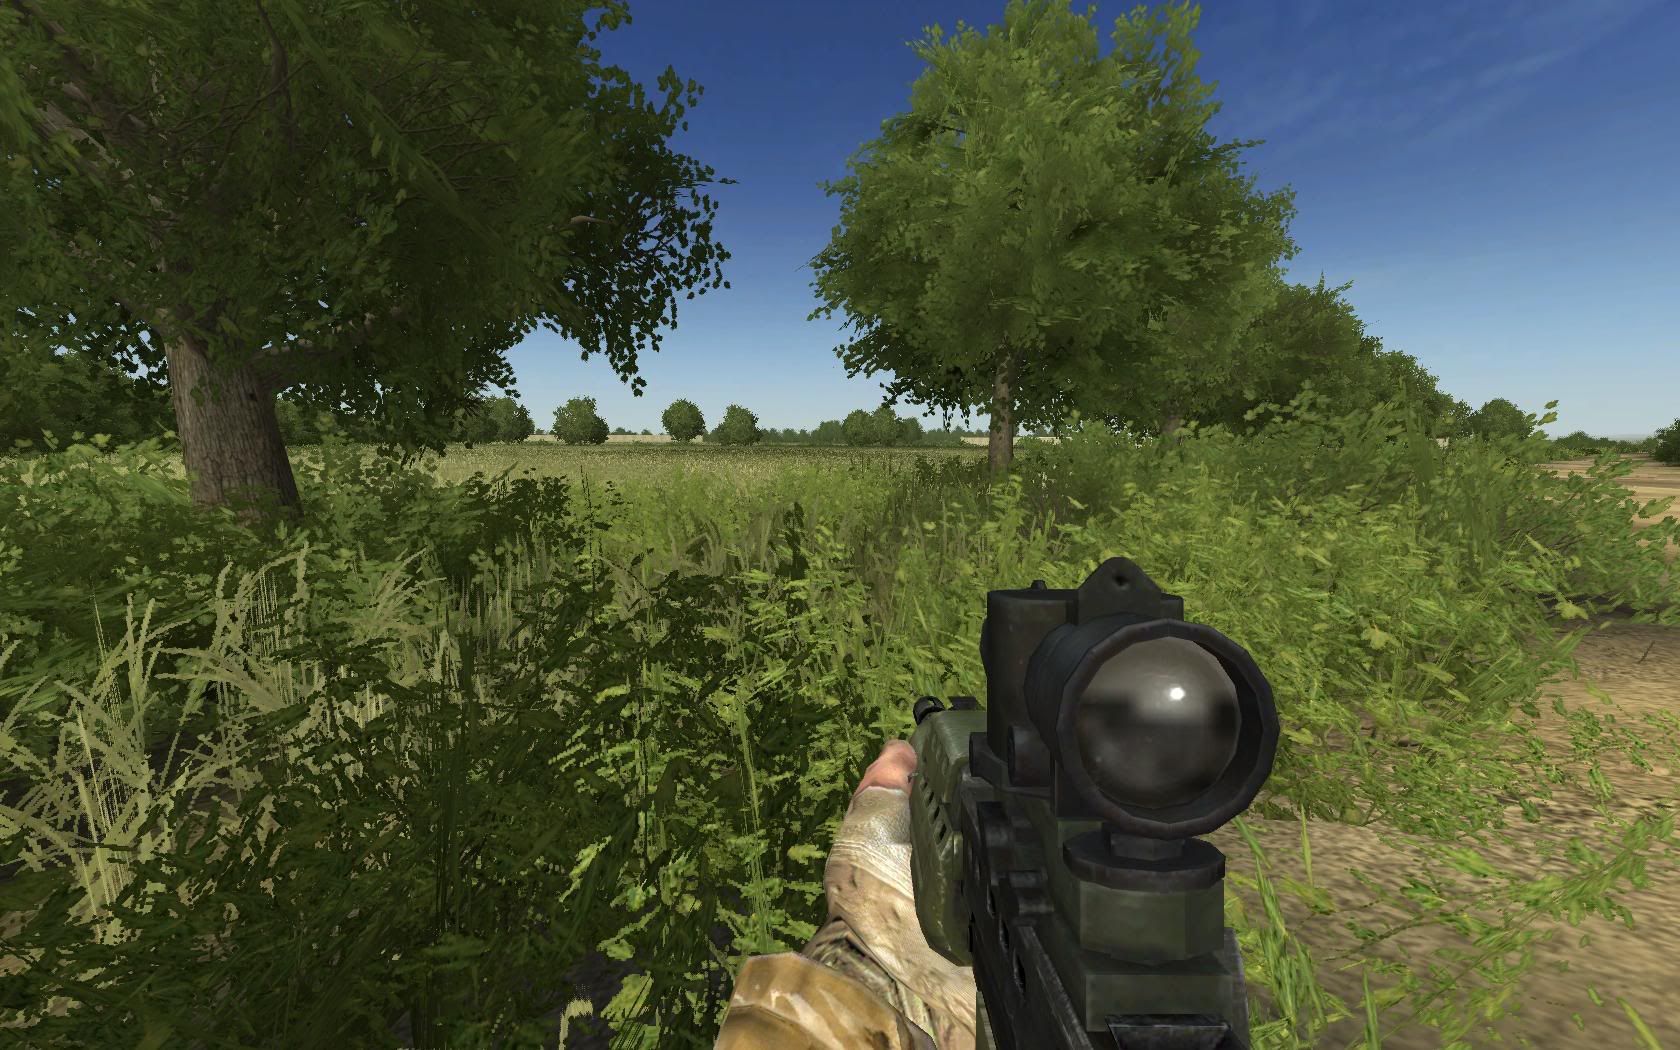
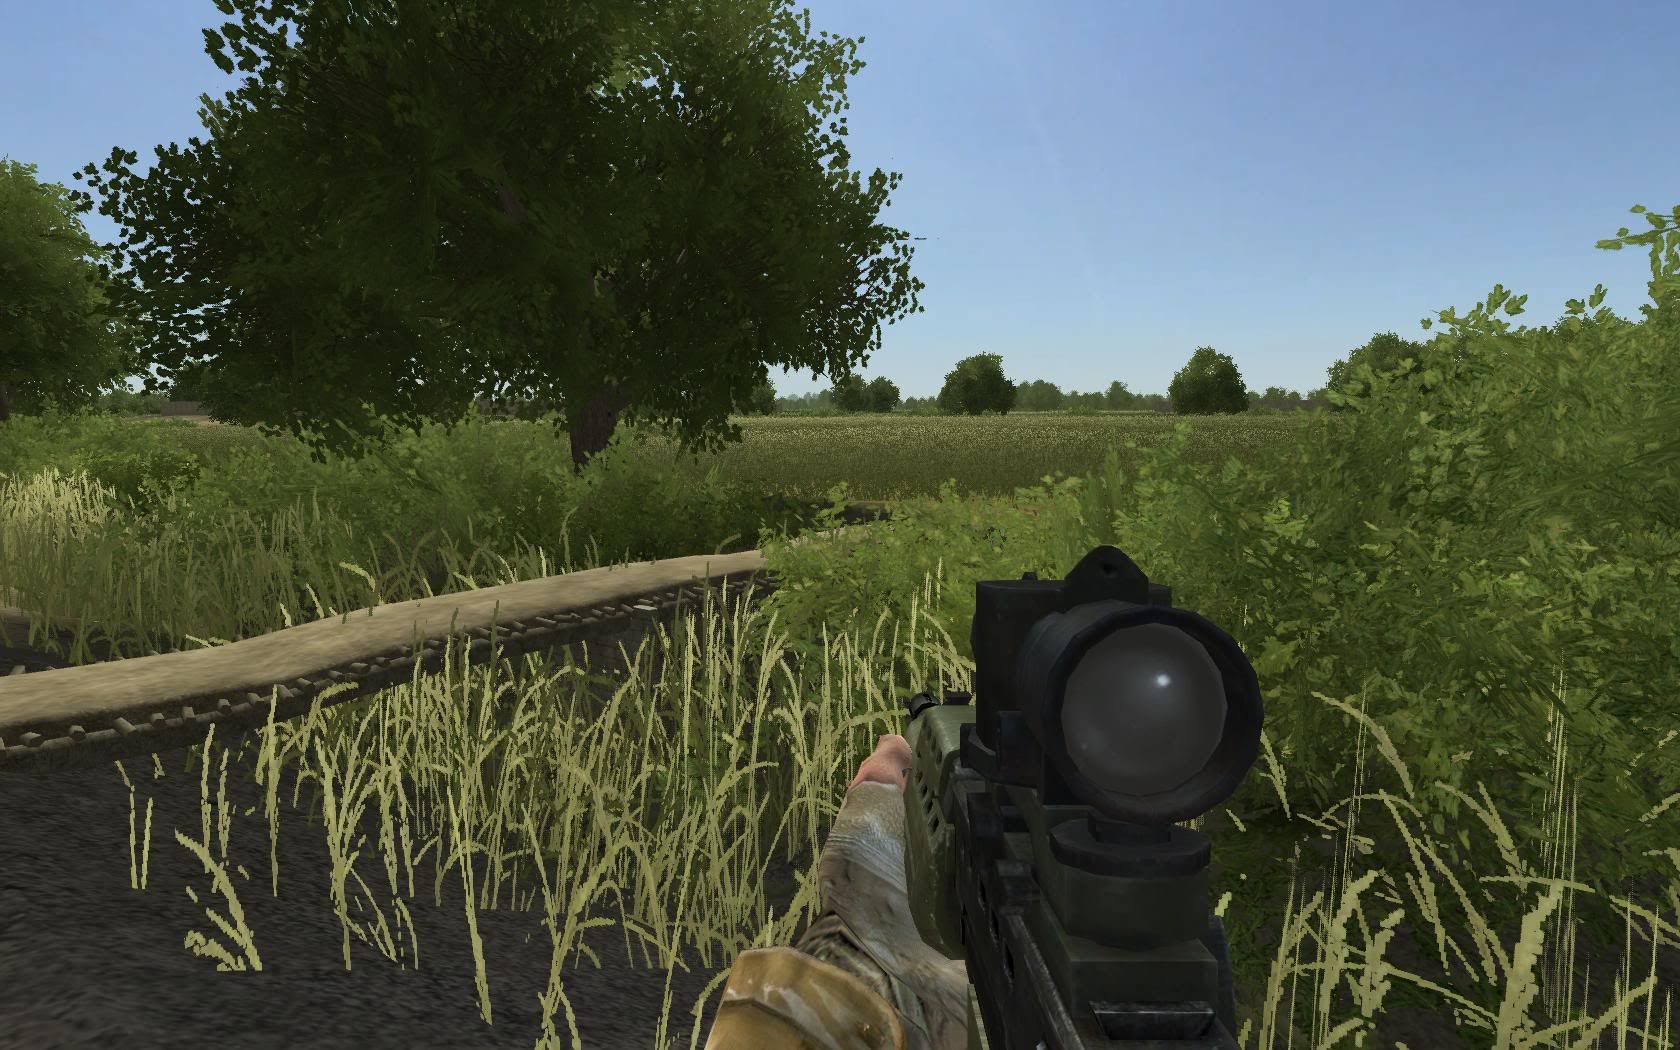
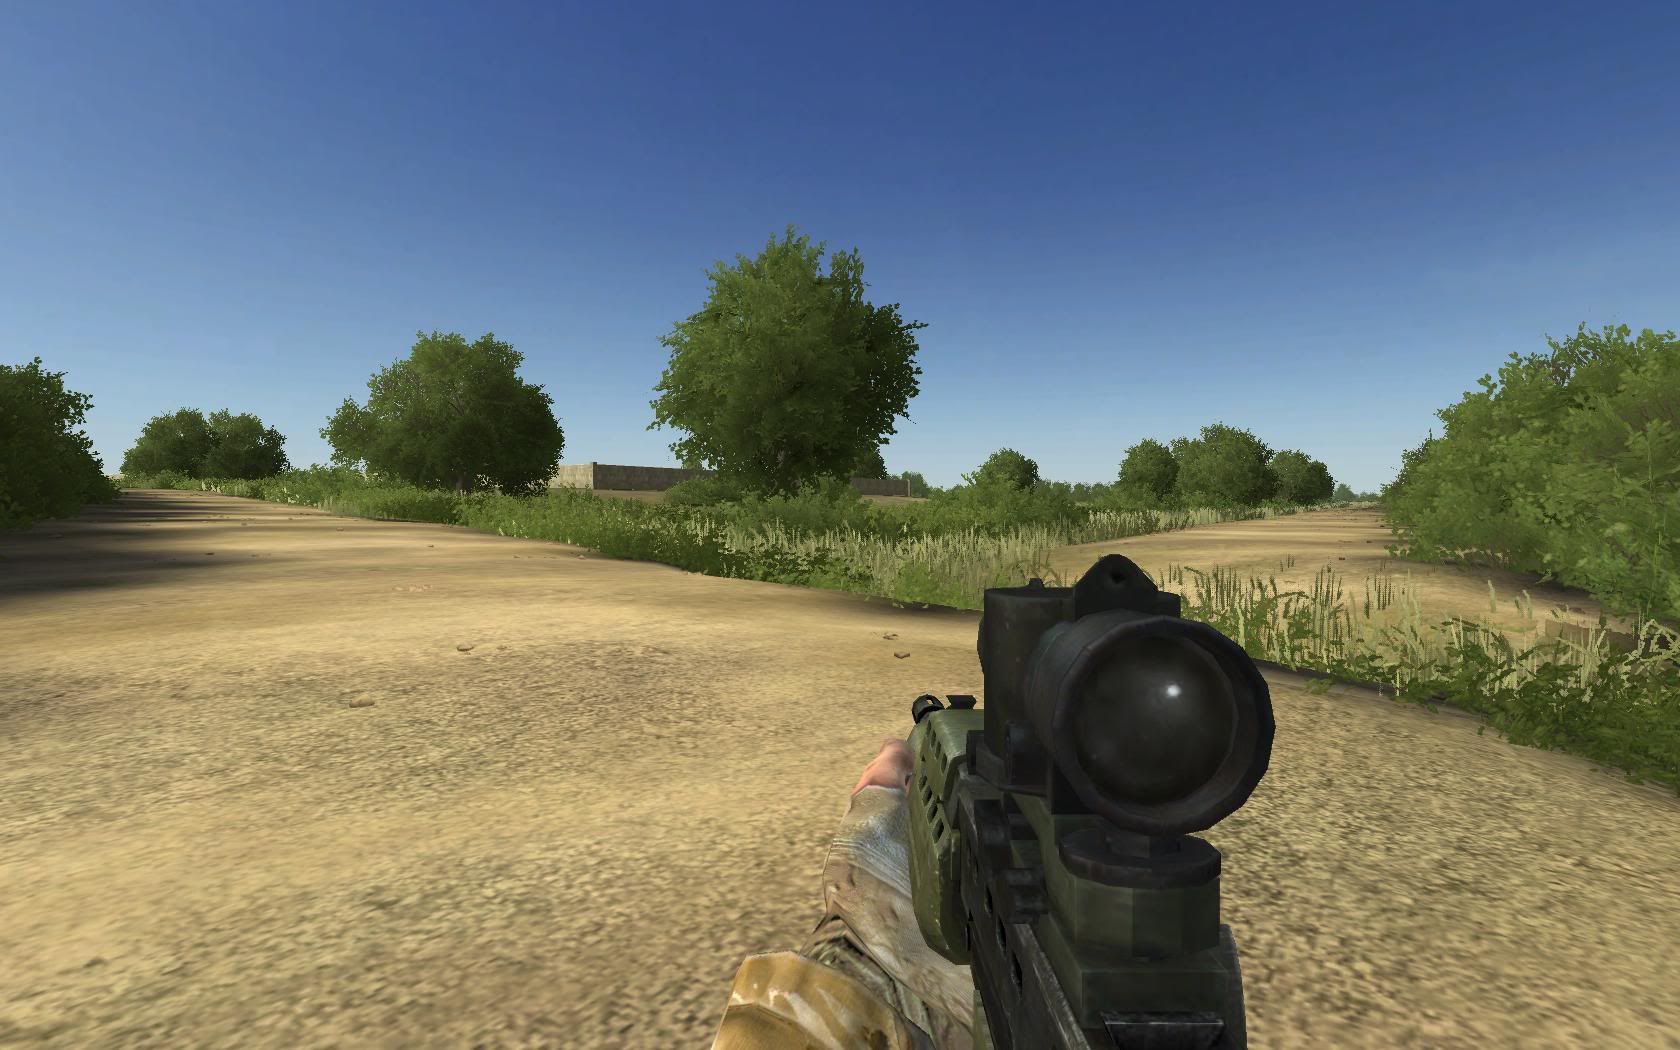
Stage 6 - Finally, well a lot more detail is added!:
More statics, completed compounds and other detailed work such as texturing, bits of over/undergrowth, terrain tweaks, new overgrowth fields, lightmaps etc. All of that will be done in the final stages of development.
Stage 1 - Pouring over a massive amount of reference material:
*imagine an image of me looking over an insane amount of ref material* (mainly trees
Note that using plenty of good ref material, to use both directly and indirectly i.e. copying some of the areas you see and taking influence from some of the others, can make the difference between something that looks good and something that looks real (within the limits of the bf2 engine). A tip I would have for any new mapper is that when it comes to general visuals let the references do the work for you. Attention to detail both in your observations of the reference material and the realisation of these in the map, working out what does and doesn't work when you account for the restrictions of the engine you're using, can make a huge difference to the overall visual quality of the map.
A couple of the refs I used for the area shown below:


Stage 2 - Starting point:

Stage 3 - Some basics down:

Stage 4 - The area is roughed out:


Stage 5 - Then detail is added:


Stage 6 - Finally, well a lot more detail is added!:
More statics, completed compounds and other detailed work such as texturing, bits of over/undergrowth, terrain tweaks, new overgrowth fields, lightmaps etc. All of that will be done in the final stages of development.
